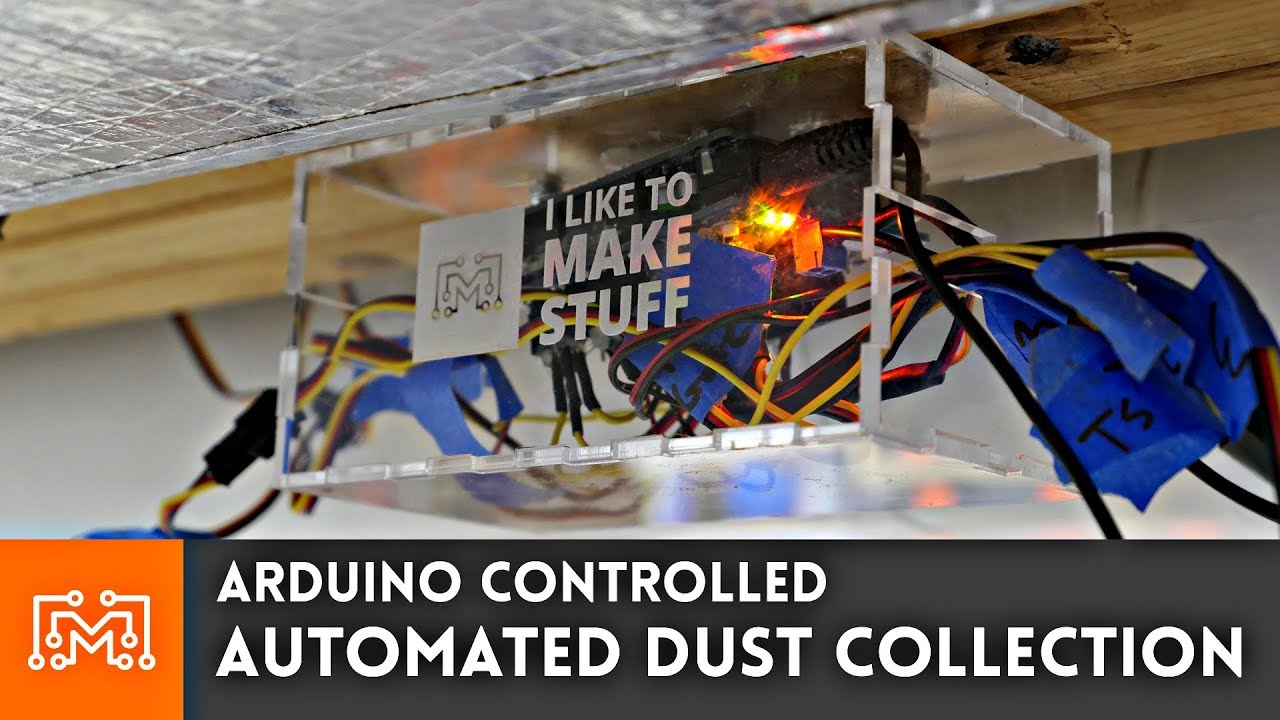
Automating Dust Collection: Current Sensing Blast Gates with Arduino
On this page(8 sections)
Introduction: The Dust Collector’s Dilemma
If you’re a woodworker or a hobbyist with a miter saw, table saw, or sander, you know the struggle. You’re ready to make a quick cut, but you forget to open the blast gate. Or you open the gate but forget to walk across the shop to turn on the dust collector. Five minutes later, your lungs are full of fine sawdust and your workshop is covered in a layer of "brown snow."
Manual dust collection is a friction point. If it’s not easy, you won’t do it. The ultimate solution is an Automated Dust Collection System.
The goal: When you pull the trigger on your saw, the system detects the power draw, automatically opens the corresponding blast gate using a servo motor, and triggers the main dust collector or shop vac. When you stop the saw, the system waits a few seconds to clear the lines, then closes the gate and shuts off the vacuum.
In this guide, we’ll build a central controller using an Arduino and non-invasive current sensors to automate your shop’s air quality.
1. System Architecture: How It Works
This is a distributed system. We have "nodes" at each tool and a "master" controller at the dust collector.
The Workflow
- Detection: A current sensor (SCT-013) on the tool’s power cord detects when the motor starts.
- Command: The tool node tells the Master Controller which tool is active.
- Action: The Master opens the correct Blast Gate and turns on the Dust Collector Relay.
- Cleanup: After the tool stops, the vacuum runs for a 5-second "purge" before shutting down.
Component Comparison: Blast Gate Actuators
| Actuator Type | Pros | Cons |
|---|---|---|
| RC Servo (MG996R) | Cheap, easy to control, high torque | Limited 180° rotation |
| Pneumatic Cylinder | Very fast, powerful | Requires air compressor and solenoids |
| Stepper Motor | High precision, continuous rotation | More complex wiring and drivers |
Pro Tip: For most hobbyist shops, the MG996R Metal Gear Servo is the perfect balance of cost and power. It has enough torque to slide a 4-inch PVC blast gate even if it’s slightly gummed up with resin.
2. Hardware Selection and Bill of Materials
| Component | Purpose | Approx. Cost |
|---|---|---|
| Arduino Nano | Main logic controller | $5.00 |
| SCT-013-030 | 30A Non-invasive current sensor | $10.00 |
| MG996R Servo | Opens/Closes the blast gate | $8.00 |
| IoT Relay | Safely triggers the vacuum (120V) | $25.00 |
| Cat5e Cable | Used for signal and power distribution | $0.10/ft |
3. The Current Sensor: Detecting the Load
We use the same principle as our Energy Monitor article, but with a simpler goal: binary detection (Is the tool ON or OFF?).
The Tool Node Wiring
The current sensor clips around only one of the wires in the tool's power cord. The signal is sent back to the Arduino’s analog pin.
#include <Servo.h>

const int SENSOR_PIN = A0;
const int SERVO_PIN = 9;
const int VAC_RELAY_PIN = 8;
const int THRESHOLD = 300; // Adjust based on tool power
const int DELAY_OFF = 5000; // 5 second purge

Servo myGate;
bool toolActive = false;
unsigned long stopTime = 0;

void setup() {
  myGate.attach(SERVO_PIN);
  pinMode(VAC_RELAY_PIN, OUTPUT);
  myGate.write(10); // Start closed
}

void loop() {
  int sensorValue = analogRead(SENSOR_PIN);

  if (sensorValue > THRESHOLD) {
    if (!toolActive) {
      openGate();
      startVac();
      toolActive = true;
    }
  } else {
    if (toolActive) {
      if (millis() - stopTime > DELAY_OFF) {
        closeGate();
        stopVac();
        toolActive = false;
      }
    } else {
      stopTime = millis();
    }
  }
}

void openGate() { myGate.write(170); }
void closeGate() { myGate.write(10); }
void startVac() { digitalWrite(VAC_RELAY_PIN, HIGH); }
void stopVac() { digitalWrite(VAC_RELAY_PIN, LOW); }
4. Designing the 3D-Printed Blast Gate
You can buy plastic blast gates and modify them, or 3D print your own from scratch.
Design Principles for 3D Printing
- Self-Cleaning Slot: Ensure the slot where the gate slides has a "blow-out" hole at the bottom so sawdust doesn't pack in and prevent the gate from closing.
- Mounting Flanges: Design the gate to fit standard 2.5-inch or 4-inch flexible dust hose.
- Servo Horn Linkage: Use a stiff wire (like a paperclip or a welding rod) as a linkage between the servo and the gate slide.
5. Safety and Power Considerations
- The IoT Relay: Do not try to switch a 1.5HP dust collector directly with a cheap Arduino relay module. They are prone to "arcing" and welding their contacts shut. Use a dedicated IoT Power Relay or a high-quality Contactor rated for inductive motor loads.
- Powering the Servos: If you have five or six gates, the Arduino cannot provide enough current. Use a dedicated 5V 5A power supply for the servos and common the ground with the Arduino.
Warning: Always ensure your vacuum and your power tools are on separate breakers if possible. A large table saw and a dust collector starting at the same time can easily pull over 30A, which will trip a standard 15A or 20A residential breaker.
6. Testing and Calibration
Every tool has a different "idle" current. A large cabinet saw might pull 5A just spinning the blade, while a small sander might pull 1A.
- Serial Monitor: Use
Serial.println(sensorValue)to see the raw numbers when the tool is running vs. off. - Set the Threshold: Set your
THRESHOLDvariable to about 50% of the difference between the "OFF" and "ON" readings. - Purge Time: Adjust the
DELAY_OFFbased on the length of your dust hose. If you have a long run, you might need 10 seconds to ensure the dust reaches the collector.
7. Conclusion: Breathe Easier
The difference an automated system makes is immediate. Your shop stays cleaner, your tools run cooler, and you protect your long-term health. No more "I'll just make one quick cut" excuses.
Future Enhancements
- Manual Overrides: Add a physical button at each tool to open the gate for cleaning the floor.
- Home Assistant Integration: Track how many hours your vacuum has run and get a notification when it's time to empty the bin.
- Current Monitor: Add an Energy Monitor to track total shop power usage.
Happy building, and keep the air clear!
This is the seventh article in our "Smart Workshop" series. Join us next week for our deep dive into reverse engineering old car electronics!