DIY Brake Pad Replacement Guide

Replacing your own brake pads is one of the most satisfying DIY jobs you can do on a car. It saves money, gives you a better understanding of how your braking system works, and lets you choose quality parts instead of whatever happens to be cheapest on the workshop shelf.
Despite involving a safety-critical system, the job itself is straightforward when approached methodically and with the right tools. In this guide, we’ll walk through the process step by step so that even a first-time home mechanic can replace pads with confidence.

How Disc Brakes Work (In Plain English)
Modern cars and utes use disc brakes on the front wheels and often on the rear as well. When you press the brake pedal:
- Hydraulic fluid in the brake lines pushes pistons inside the caliper.
- Those pistons squeeze the brake pads against the spinning disc (rotor).
- Friction between pad and rotor converts motion into heat, slowing the vehicle.
Over time, the friction material on the pads wears down. If you let it go too far, the metal backing plate will contact the rotor, causing grinding noises, poor braking, and expensive damage. Regular inspection and timely replacement of pads prevent all of this.
Tools, Parts, and Safety Gear
Before you loosen a single wheel nut, gather everything you need. Stopping halfway through a brake job to hunt tools is frustrating at best.
Tools
- Jack and proper jack stands (never rely on the jack alone)
- Wheel brace or breaker bar
- Socket set and/or spanners
- C-clamp or disc brake spreader tool
- Torque wrench (for wheel nuts and caliper bolts)
- Flathead screwdriver or small pry bar
- Wire brush and brake cleaner spray
Parts and Consumables
- New brake pads (front, rear, or both as required)
- Anti-squeal brake grease or high-temp lubricant
- New pad fitting kit or shims if your car uses them
- Rags or paper towels
Safety Gear
- Nitrile gloves
- Safety glasses
- Solid, flat working surface (concrete, not soft dirt)
Preparation: Secure, Loosen, and Lift
- Park on level ground, engage the handbrake, and leave the car in gear or Park.
- Loosen wheel nuts slightly while the car is still on the ground.
- Position your jack at the manufacturer’s recommended jacking point.
- Raise the vehicle and support it securely on jack stands.
- Remove the wheel and slide it under the sill as a backup safety measure.
Take a moment to familiarise yourself with the components you see: rotor, caliper, pads, and mounting bolts. If anything looks excessively rusty, damaged, or oily (from a leaking hub or brake line), address that before proceeding.

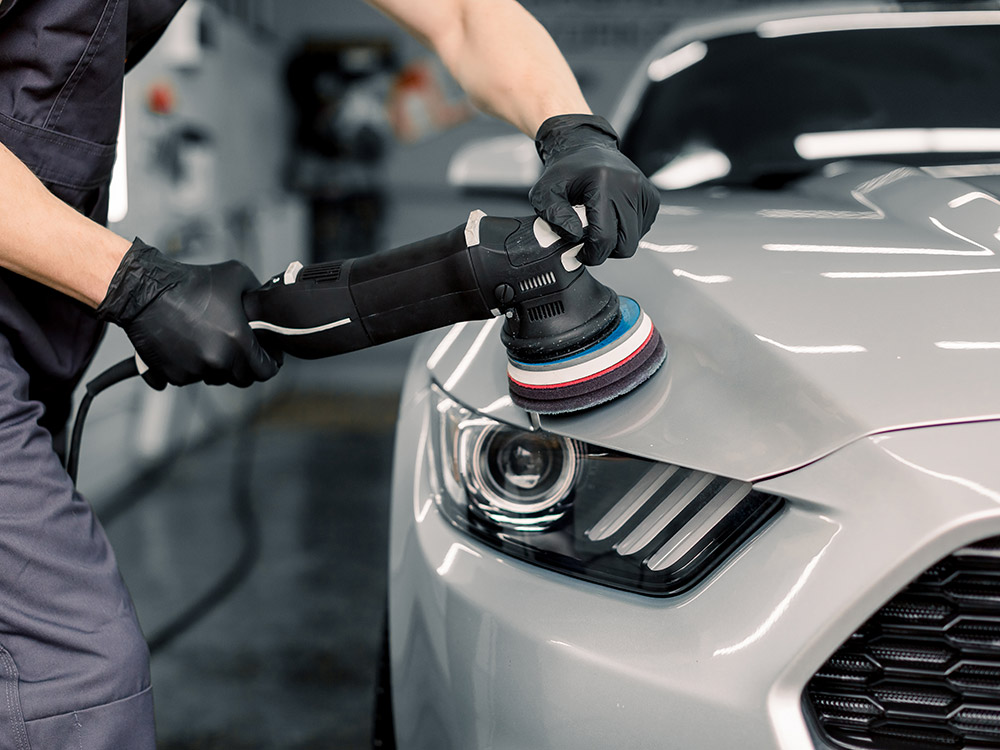
Step 1: Remove the Caliper and Old Pads
Most floating calipers are held in place by one or two slider bolts.
- Locate the caliper bolts on the back of the caliper.
- Use the appropriate socket or spanner to loosen and remove them.
- Carefully slide the caliper off the rotor.
- Tip: If it’s tight, a gentle wiggle or levering with a flat screwdriver can help.
- Support the caliper with a bungee cord or wire—never let it hang by the brake hose.
- Remove the old pads from the caliper bracket. Note how they were installed, including any anti-rattle clips or shims.
If your car uses a separate pad wear sensor, disconnect it and make sure you have the correct replacement with your new pads.
Step 2: Inspect the Rotors and Hardware
Before slapping in new pads, check that everything they will contact is in good condition.
- Look at both sides of the rotor for deep grooves, cracks, or heavy scoring.
- Run a fingertip lightly across the surface—you should feel only minor ridges.
- If the rotor is heavily worn or warped (pulsing pedal under braking), have it machined or replaced.
Clean the pad slide surfaces on the caliper bracket with a wire brush and brake cleaner. This helps the new pads move freely and prevents sticking or uneven wear.
Step 3: Compress the Caliper Piston
New pads are thicker than the worn ones you removed, so the caliper piston needs to be pushed back into its bore.
- Place an old pad against the piston face for even pressure.
- Use a C-clamp or brake spreader tool to slowly compress the piston.
- Watch the brake fluid reservoir under the bonnet—fluid level may rise as the piston retracts.
If the piston is stiff, rusty, or refuses to retract smoothly, the caliper may need rebuilding or replacing. Do not force a seized piston; this is a safety-critical component.
Note: Some rear calipers with integrated handbrakes need to be turned with a special tool rather than just pushed in. Always confirm the correct procedure for your specific model.
Step 4: Install the New Pads
With the piston fully retracted:
- Fit any new stainless clips or pad hardware supplied with your pad set.
- Apply a thin smear of high-temp brake grease to:
- The backing plate where it contacts the caliper or piston.
- The slider contact points on the bracket (never on the friction surface).
- Slide the new pads into place, ensuring the inner and outer pads are correctly oriented.
Double-check that both pads sit squarely and can move slightly in the bracket without binding.
Step 5: Refit the Caliper and Torque Everything
- Swing the caliper back over the new pads.
- Align the mounting holes and reinstall the slider bolts by hand to avoid cross-threading.
- Torque the caliper bolts to the manufacturer’s specification using a torque wrench.
Reinstall the wheel, hand-tighten the nuts, lower the vehicle, and then torque the wheel nuts in a star pattern to spec.
Step 6: Pump the Pedal and Bed-In the Pads
Before driving anywhere:
- Sit in the driver’s seat and pump the brake pedal several times.
- The pedal will initially sink as the pads move out to meet the rotors.
- Stop only when the pedal feels firm and consistent.
- Check for any brake fluid leaks around calipers and lines.
Next, follow a basic bed-in procedure for your new pads:
- Perform a series of moderate stops from 60–70 km/h down to 10–20 km/h.
- Allow some cooling time between each stop—avoid coming to a complete halt with hot brakes clamped.
- This gradually transfers an even layer of pad material onto the rotor, improving performance and longevity.
Common Mistakes to Avoid
- Touching the friction surface of pads with greasy hands.
- Getting lubricant or brake cleaner on the rotor or pad surface.
- Forgetting to pump the pedal before driving off.
- Hanging the caliper by its hose (risking internal damage).
When to Call a Professional
DIY brake pad replacement is achievable for most hobbyists, but there are times when it’s smarter to involve a mechanic:
- You notice a soft, spongy pedal even after bleeding.
- The car pulls strongly to one side under braking.
- There are deep rotor cracks, fluid leaks, or ABS warning lights.
If in doubt, have a professional inspect your work. Brakes are not an area where guesswork is acceptable.
With patience, the right tools, and a clear process, you can turn brake pad replacement from a scary mystery into a routine service task you’re proud to handle yourself.