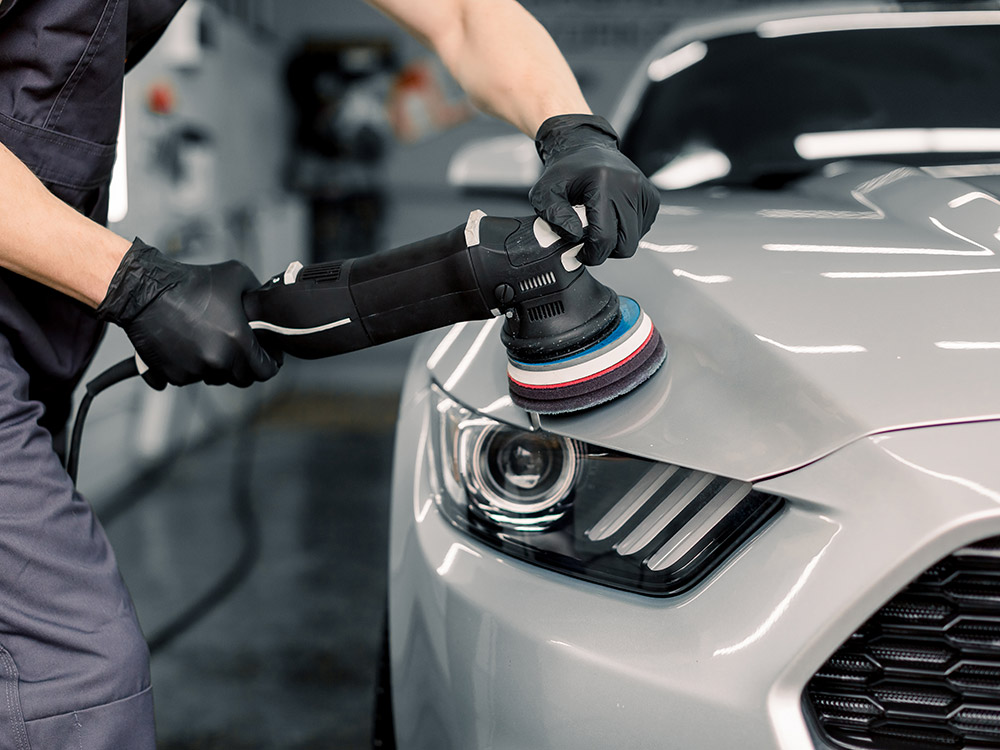
DIY Basics: How to Perform an Oil Change

Changing your own engine oil is a foundational skill for any aspiring home mechanic. It's not just about saving money on car maintenance; it's a rewarding process that helps you understand your vehicle on a deeper level. This comprehensive guide will walk you through every step of the DIY oil change process, ensuring you can tackle this essential car care task with confidence.
Why You Should Change Your Own Car Oil
Beyond the cost savings, performing a DIY oil change allows you to use high-quality oil and filters of your choice. You'll also gain valuable insight into the condition of your vehicle, spotting potential issues before they become major problems. It’s an investment in your car and your own skills.
Essential Tools and Materials for an Oil Change
Gathering the right equipment is the first step to a successful oil change at home. Here’s exactly what you’ll need:
- Fresh Engine Oil: The lifeblood of your engine. Consult your owner's manual to find the correct type (e.g., 5W-30) and volume for your specific make and model.
- New Oil Filter: A quality filter is crucial for keeping your oil clean. Make sure it's the correct model for your vehicle.
- Wrench for the Drain Plug: A socket or box-end wrench is ideal to avoid stripping the plug.
- Oil Filter Wrench: This tool provides the leverage needed to remove the old filter, which can be screwed on tightly.
- Oil Drain Pan: To catch the used oil and prevent messy spills.
- Jack and Jack Stands: Safety is non-negotiable. Jack stands provide a secure and stable platform to work under your car.
- Protective Gear: Nitrile gloves will keep your hands clean, and safety glasses will protect your eyes.
- Rags or Paper Towels: For inevitable drips and spills.
- Funnel: To pour the new oil into the engine without making a mess.
Step-by-Step Guide to a DIY Oil Change
Follow these detailed steps for a smooth and effective at-home oil change.
1. Prepare Your Vehicle
Start by running your car's engine for two to three minutes. This warms up the oil, reducing its viscosity and allowing it to drain more completely. Don't let it get too hot, as hot engine components can cause burns.
2. Safely Lift Your Car
Park on a level surface and engage the parking brake. Use a hydraulic jack to lift the front of your vehicle and securely place jack stands under the manufacturer's recommended lift points. CRITICAL: Never, ever work under a vehicle supported only by a jack.
3. Drain the Old Engine Oil
Slide the oil drain pan under the engine. Locate the oil pan drain plug, position your wrench, and turn it counter-clockwise to loosen. Once loose, carefully unscrew the plug by hand, allowing the old, dark oil to drain completely into the pan.
4. Replace the Oil Filter
Locate the cylindrical oil filter. Position the drain pan underneath it, as it will release some trapped oil. Use your oil filter wrench to turn it counter-clockwise until it's loose enough to unscrew by hand.
Before installing the new filter, dip a finger into the new oil and lubricate the rubber gasket on the top of the new filter. This ensures a tight seal. Screw the new filter on by hand until it's snug, then tighten it an additional quarter-turn with the wrench.
5. Add the New Engine Oil
Wipe the drain plug area clean and reinstall the drain plug, tightening it snugly with your wrench. Back in the engine bay, remove the oil filler cap and, using a funnel, pour in the correct amount of new oil. Check the level with the dipstick as you go to prevent overfilling.
6. Final Checks and Clean-Up
Replace the oil filler cap and start the engine. Let it run for about 60 seconds, which allows the new oil to circulate through the engine and filter. While it's running, check for any leaks around the drain plug and oil filter.
Turn off the engine, wait a few minutes for the oil to settle, and check the dipstick one last time. Add more oil if necessary to reach the "full" mark.
Congratulations on successfully completing your first DIY oil change! Be sure to properly dispose of your used oil and filter. Most auto parts stores accept used motor oil for recycling free of charge.