OPNsense on N100 Mini PC: DIY Router Build (2026)
On this page(6 sections)
Replacing a consumer router with OPNsense on an N100 mini PC gives you a capable firewall, VLANs, and VPN in a box that idles at 8–12W. The CWWK N100 4-port and similar dual-LAN mini PCs are built for this. This guide covers hardware, installation, and a basic setup.
For N100 power consumption and hardware comparison, see our N100 power guide.
Why OPNsense on N100?
| Benefit | Details |
|---|---|
| Low power | 8–12W typical vs 5–15W for many consumer routers |
| Silent | Fanless N100 options available |
| 2.5GbE | Common on N100 mini PCs; better than 1GbE routers |
| Full control | Firewall rules, VLANs, VPN, traffic shaping |
| No subscription | OPNsense is free and open source |
Hardware Options
| Model | Ports | Notes |
|---|---|---|
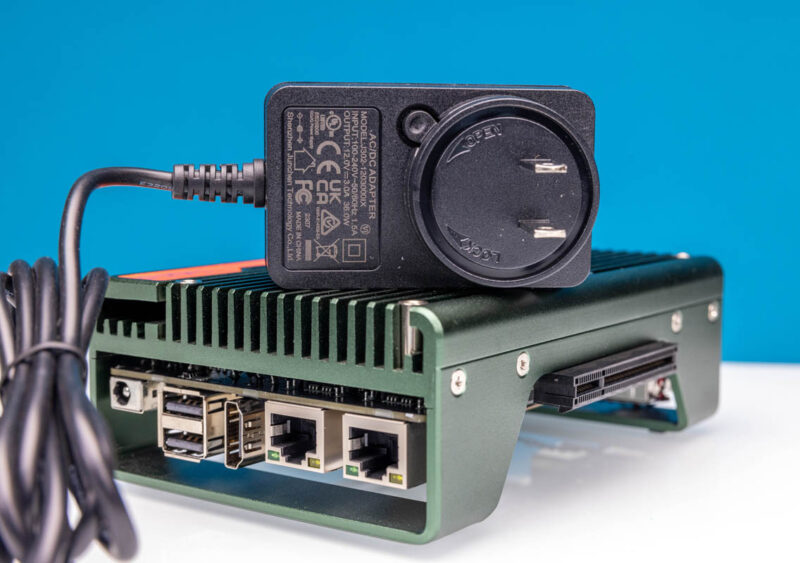
| CWWK N100 4-port | 4× 2.5GbE | Best for OPNsense; dedicated firewall box |
| Beelink/Trigkey dual LAN | 2× 1GbE or 2.5GbE | Budget option; add USB Ethernet if needed |
| Minisforum UN100C | 1× 2.5GbE | Fanless; needs USB Ethernet for second port |
You need at least two Ethernet ports: one for WAN, one for LAN. The CWWK 4-port allows WAN, LAN, and optional DMZ or VLAN segmentation.
Installation
Step 1: Download OPNsense
- Go to opnsense.org/download
- Choose the AMD64 image (N100 is x86_64)
- Download the DVD image (
.img.xzor.iso)
Step 2: Create Bootable USB
- Flash the image to a USB drive with Balena Etcher or
dd - Insert the USB into the N100
Step 3: Boot and Install
- Power on, press F7/F11/F12 for boot menu
- Boot from USB
- Choose Install from the menu
- Select the NVMe drive as the target (this will erase it)
- Set root password
- Reboot when prompted and remove the USB
Step 4: First Boot
OPNsense will show the console menu. By default it assigns DHCP to the first interface. Connect a PC to the second port (or the port you intend as LAN) and get an IP. Then open https://192.168.1.1 (or the IP shown) in a browser.
Basic Configuration
WAN and LAN
- Interfaces → Assignments – Assign WAN to the port connected to your modem, LAN to your internal network
- Interfaces → WAN – Set to DHCP (or PPPoE if your ISP requires it)
- Interfaces → LAN – Set a static IP (e.g. 192.168.1.1) and enable DHCP server for your network
Firewall Rules
Out of the box, OPNsense blocks WAN→LAN and allows LAN→WAN. For a basic home setup, that is usually enough. Add rules under Firewall → Rules if you need port forwards or more complex policies.
Optional: pfSense vs OPNsense
Both run on similar hardware. OPNsense is a pfSense fork with a different UI and release cycle. For N100, either works; OPNsense is often preferred for its active development and plugin ecosystem.
Power Draw
| State | Power |
|---|---|
| Idle (no traffic) | 8–10 W |
| Light traffic | 9–11 W |
| Heavy routing/VPN | 10–12 W |
At 10W, that is about $10–12/year in electricity at US rates.
Conclusion
An N100 mini PC with OPNsense gives you a powerful, low-power firewall and router. The CWWK 4-port is ideal; dual-LAN Beelink or similar models work as well. Once installed, you get full control over your network without the limits of consumer gear.
For N100 power consumption and hardware picks, see our N100 power guide.