Custom LED Strip Lighting Guide: Transform Any Room with DIY Lighting
LED strip lighting has become one of the most popular DIY electronics projects for hobbyists. With a few reels of LEDs, a power supply, and a controller, you can transform a dull room into a cosy, colourful, or futuristic space. Whether you want subtle ambient lighting behind your TV or full RGB effects in a gaming room, understanding how to safely power and control LED strips is key.
This custom LED strip lighting guide focuses on 12V/24V strips and addressable LEDs, showing you how to choose components, plan your wiring, and avoid common mistakes.
Types of LED Strips: Single Colour, RGB, and Addressable
Before buying anything, decide what kind of effect you’re aiming for.
Single-Colour Strips
- Fixed colour (usually warm white, neutral white, or cool white).
- Simple 2‑wire connection (positive and negative).
- Ideal for under‑cabinet lighting or subtle accent lighting.
RGB and RGBW Strips
- Offer multiple colours by mixing red, green, and blue (and sometimes white).
- Require a compatible controller for colour changes and effects.
- Often use 4 or 5 wires (common positive plus colour channels).
Addressable (Individually Controllable) Strips
- Each LED segment has its own tiny controller chip.
- Common types include WS2812B, SK6812, and similar.
- Controlled via a data line, often from a microcontroller like an Arduino or an off‑the‑shelf controller.
Addressable strips are perfect for advanced effects, music‑reactive lighting, and integration with platforms like WLED or Home Assistant.

Planning Power Requirements and Layout
LED strips draw significant current, especially at full brightness and white colour. To avoid voltage drop and flickering:
- Check the strip’s rated current draw per metre (e.g., 0.4–1.2 A/m).
- Multiply by the total length to estimate total current.
- Choose a power supply with at least 20–30% headroom over calculated maximum draw.
For example, a 5 m strip drawing 1 A/m at full white:
- 5 m × 1 A/m = 5 A
- At 12V, that’s 60 W. A 12V 72 W (6 A) or 84 W (7 A) supply is a safer choice.
Long runs benefit from power injection at multiple points to prevent dimming at the far end.
Controllers, Dimmers, and Smart Integration
How you control your LED strips depends on your goals:
- Simple dimmer for single‑colour strips.
- Infrared or RF RGB controllers with remotes.
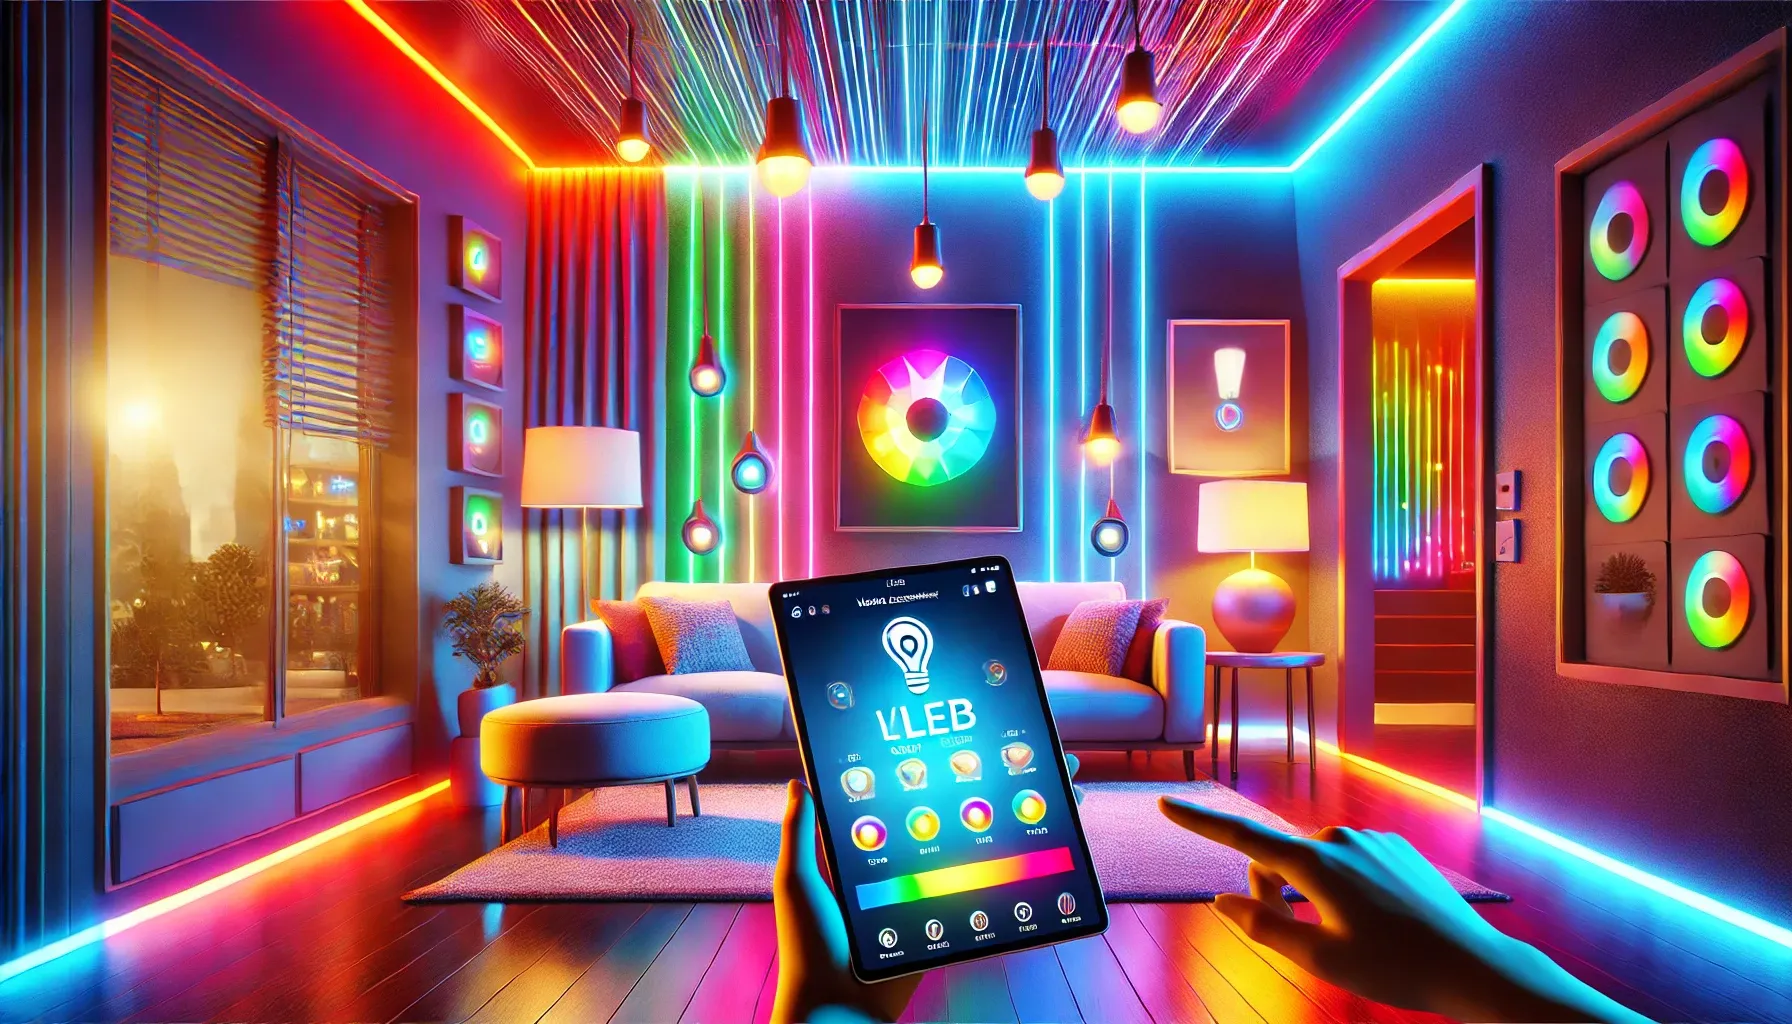
- Smart Wi‑Fi or Zigbee controllers that integrate with Google Home, Apple Home, or Home Assistant.
- WLED on ESP8266/ESP32 for addressable strips, offering deep customisation and effects.
Many DIYers flash cheap Wi‑Fi controllers with open‑source firmware for privacy‑friendly, local control rather than relying on cloud apps.
Safe Wiring Practices for LED Strip Projects
LED strips run at low voltage, but you can still create hazards if you overload cables or power supplies.
- Use appropriately sized wires for the current; undersized wires can overheat.
- Keep connections tidy and strain‑relieved to avoid shorts.
- Mount power supplies where they have adequate ventilation.
- Always match voltage: a 12V strip needs a 12V supply—not 24V.
When in doubt, consult datasheets or basic DC wiring guides; treating LED projects with the same respect as any other electrical work is good practice.
Mounting and Diffusing LED Strips
Presentation makes a huge difference:
- Use aluminium extrusion channels with diffusers for a professional finish.
- Clean surfaces before sticking adhesive‑backed strips; add extra mounting clips where needed.
- Position strips where the LEDs aren’t directly visible to avoid harsh hotspots.
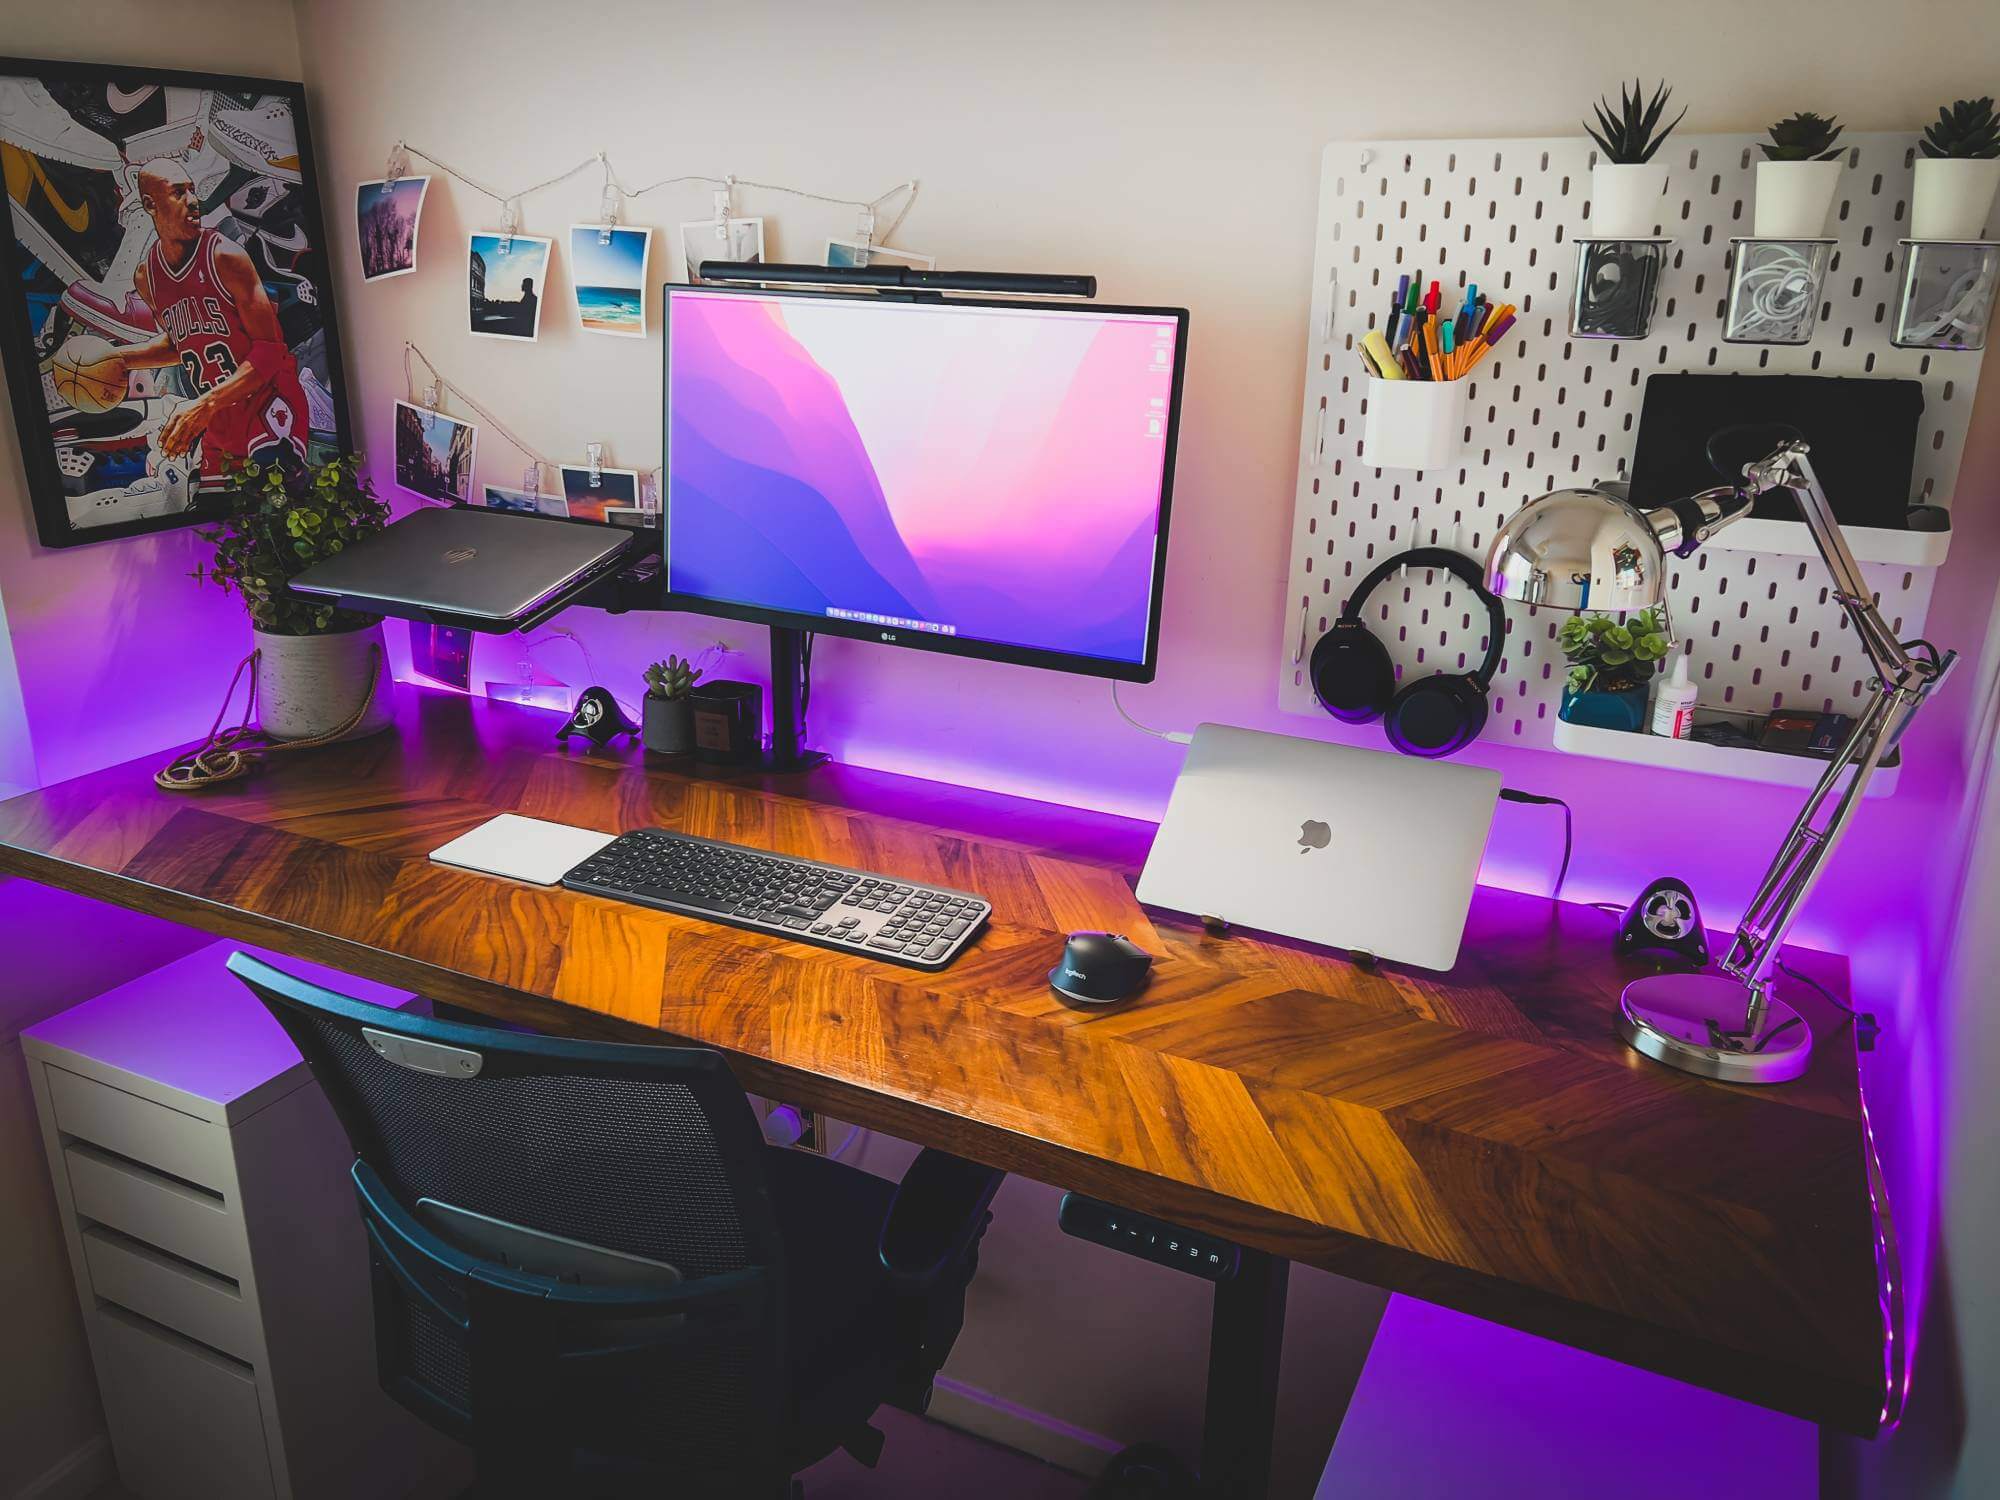
Behind monitors, under shelves, and along coves are all great locations for indirect, visually pleasing light.
Ideas for Custom LED Strip Lighting Projects
- Backlight your TV to reduce eye strain while watching at night.
- Add under‑cabinet lighting in the kitchen for better task illumination.
- Line the underside of a bed frame or couch for a floating effect.
- Create RGB accent lighting on a PC desk or in a gaming corner.
With addressable strips and smart controllers, you can sync colours to games, media, or even external data like weather or time of day.
Custom LED Strip Lighting Checklist
- Decide on single‑colour, RGB, or addressable strips.
- Calculate power requirements and choose a suitable PSU.
- Select a controller (simple dimmer, smart controller, or WLED).
- Plan your wiring, including power injection for long runs.
- Mount strips in channels or hidden locations for clean diffusion.
- Configure scenes, animations, and integration with your smart home if desired.
By following this custom LED strip lighting guide, you can turn any room into a personalised, responsive space that reflects your style—while building valuable electronics and wiring skills along the way.