Soaring High: A Beginner’s Guide to FPV Drones
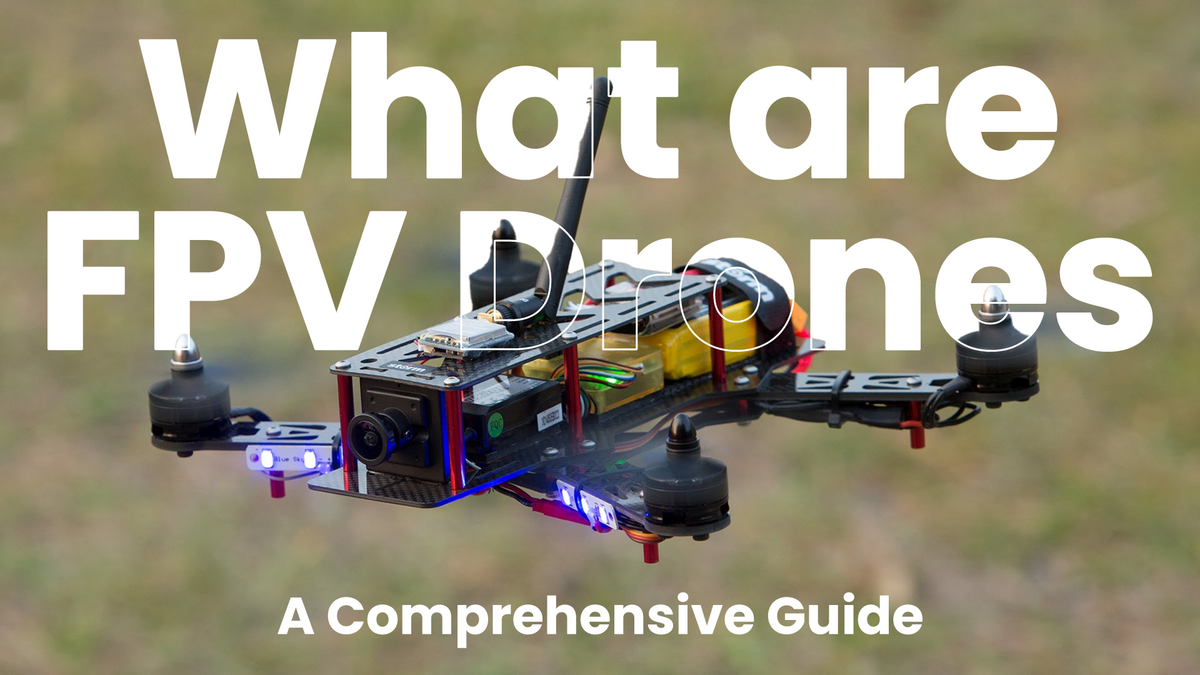
Imagine shrinking yourself down and sitting inside a tiny, high-speed aircraft. That is the feeling of FPV (First Person View) drone flying. By wearing video goggles that receive a live feed from a camera on the drone, you are not just controlling it; you are flying it.
The Core Components
To get started, you will need a few key pieces of equipment. This "ecosystem" can be daunting at first, but it breaks down into three main parts:
- The Drone (Quad): This carries the motors, battery, flight controller, and video transmitter (VTX).
- The Radio Controller: This is the joystick remote you hold in your hands to control the drone.
- The Goggles: These receive the video signal from the drone, immersing you in the flight.

Digital vs. Analog
The biggest debate in FPV right now is between video systems.
- Analog: The old school standard. It's cheap, has ultra-low latency, but the video looks like an old VHS tape with static.
- Digital (DJI / Walksnail / HDZero): Provides crisp, high-definition 720p or 1080p video. It's more expensive but offers a much more immersive experience.
Configuring Your Drone
Modern FPV drones run on firmware called Betaflight. It's incredibly powerful but requires some setup. You'll often need to use the CLI (Command Line Interface) to set up specific features.
For example, here is how you might set up a basic On-Screen Display (OSD) warning for low battery in the CLI:
# Betaflight CLI configuration example
set osd_warn_core_temp = OFF
set osd_warn_rc_rssi = ON
set osd_warn_link_quality = ON
set osd_warn_batt_voltage = ON
set osd_vbat_pos = 2454
save
First Steps: The Simulator
Before you buy a drone, buy a simulator. Crashing a real drone costs money; crashing in a simulator is free.
Download a sim like Velocidrone or Liftoff, plug in your radio controller via USB, and practice until you can fly through a gate without crashing. Your wallet will thank you!