Paperless-ngx Setup on Proxmox (2026): Self-Hosted Document Archive
On this page(13 sections)
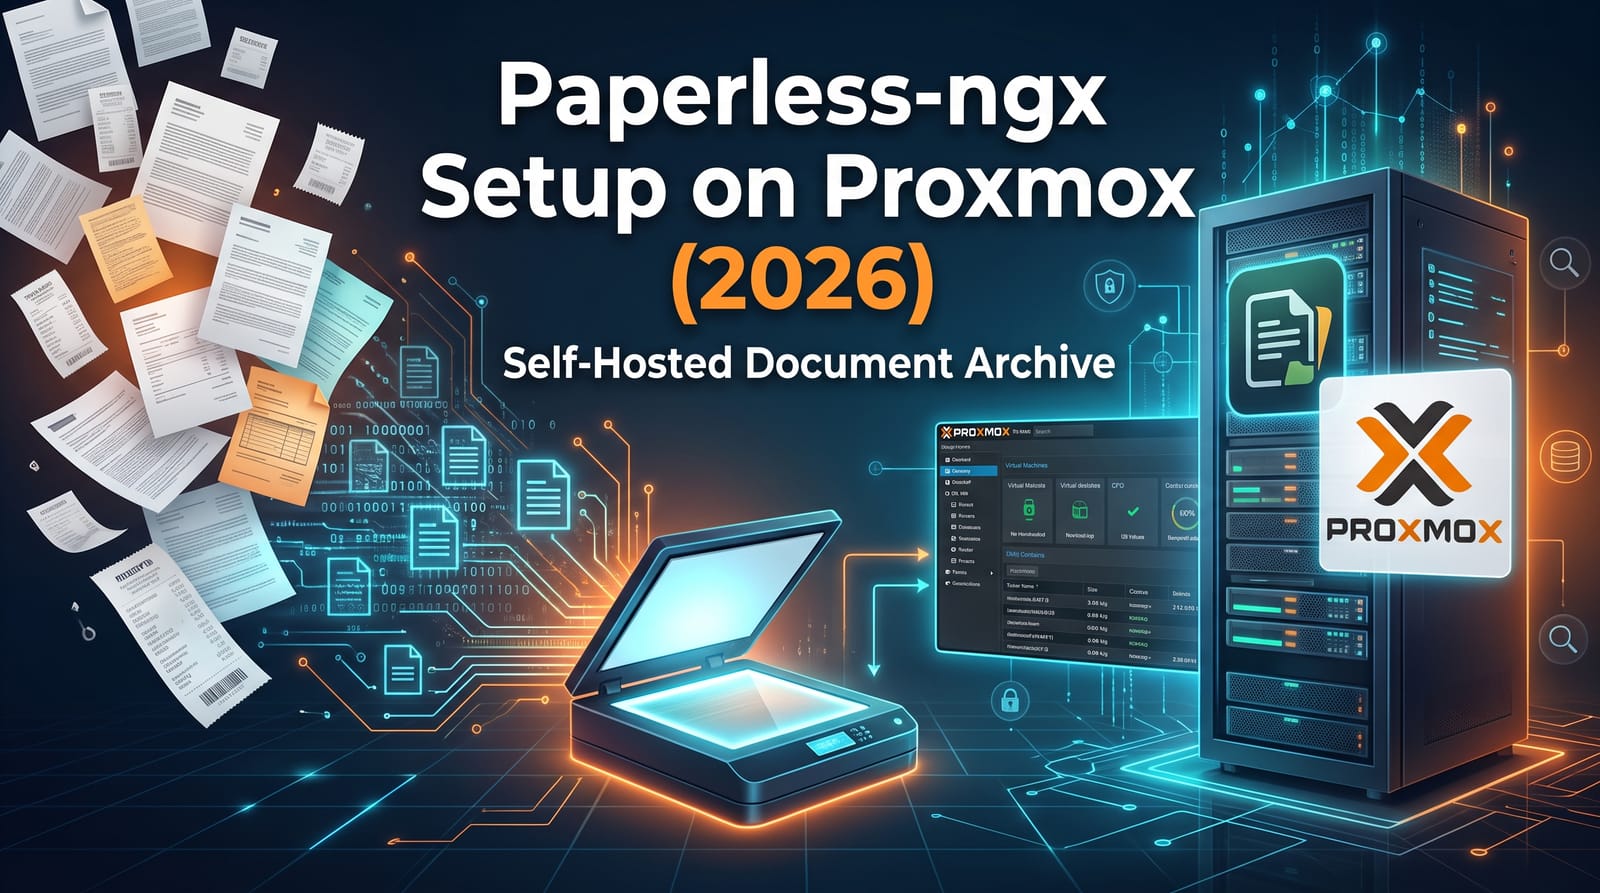
Paperless-ngx is a free, self-hosted document manager: you scan or email in your paperwork, it OCRs every page, files it with tags and correspondents, and makes everything searchable in seconds. On Proxmox you can have it running in about five minutes with the community helper-script LXC, or in fifteen with the official Docker Compose stack. This guide covers both, then the parts that actually make you paperless: a scanner workflow, OCR languages, automatic matching, email import, backups and optional AI tagging with a local Ollama.
What Is Paperless-ngx?
Paperless-ngx turns a pile of letters, bills, payslips and warranty cards into a searchable archive. Every document goes through the same pipeline:
- Consume: a file lands in the consume folder, the web upload, the mobile app or an email inbox.
- OCR: Tesseract (via OCRmyPDF) reads the text, even from photos and crooked scans.
- Archive: it stores your original plus a searchable PDF/A copy.
- Classify: matching rules (or its built-in machine learning) assign a correspondent, document type, tags and a storage path.
- Find: full-text search across everything, with filters like "all invoices from the electricity company in 2025".
It's the community-maintained successor of Paperless and Paperless-ng, licensed under GPL-3.0 and completely free. The 3.0 release in mid-2026 added native AI features (optional, off by default), which we cover below.
Hardware Requirements
Paperless-ngx is light. Most of the time it idles; it only works hard while OCRing new documents. These are rough, typical figures for a household:
| Setup | CPU | RAM | Notes |
|---|---|---|---|
| Basic (Paperless + Postgres + Valkey) | 2 cores | 2–3 GB | Plenty for a family's paperwork |
| + Tika and Gotenberg | 2–4 cores | 3–4 GB | Adds Office files (.docx, .xlsx) and full email (.eml) support |
| + local AI (Ollama) | 4+ cores or a GPU | 8–16 GB extra | Best on a separate, more powerful machine |
Storage needs are small: thousands of scanned PDFs typically fit in a few GB.
An Intel N100 or N150 mini PC is more than enough, even alongside Jellyfin, Immich and Home Assistant. See our low-power N100 homelab guide and the N100 vs N150 vs N305 comparison if you're still choosing hardware.
Install Options on Proxmox
You have three sensible choices:
| Helper-script LXC | Docker Compose in an LXC | Docker Compose in a VM | |
|---|---|---|---|
| Setup time | About 5 minutes | About 15 minutes | About 20 minutes |
| Overhead | Lowest | Low | Highest |
| Install method | Native (no Docker) | Official images | Official images |
| Updates | update in the LXC console | docker compose pull | docker compose pull |
| Matches official docs | Partly | Yes | Yes |
| Best for | Fastest start | Most homelabs | Maximum isolation |
Use the helper script for the quickest start, or Docker Compose for the setup the official docs assume. New to Proxmox? Our Proxmox on N100 setup guide covers creating LXCs and VMs.
Option 1: Proxmox VE helper script (fastest)
The community-run Proxmox VE Helper-Scripts project has a one-line Paperless-ngx installer. Run it in the Proxmox host shell (Datacenter → your node → Shell):
bash -c "$(curl -fsSL https://raw.githubusercontent.com/community-scripts/ProxmoxVE/main/ct/paperless-ngx.sh)"
Choose Default for a quick install, or Advanced to set the container ID, storage, network and resources. The defaults are an unprivileged Debian 13 LXC with 2 vCPUs, 3 GB RAM and a 12 GB disk, which is fine to start; you can grow the disk later.
When it finishes, open http://CONTAINER-IP:8000. The generated admin login is saved in a paperless-ngx.creds file in the container's root home folder (cat ~/paperless-ngx.creds in the LXC console).
A few things to know:
- It's a community project, not an official Paperless-ngx or Proxmox one, so read the script before running it.
- It installs Paperless-ngx natively (no Docker), so settings live in Paperless's
paperless.conffile instead of a compose env file. The variable names are the same. - To update, open the LXC console and run
update.
Option 2: Docker Compose in an LXC or VM
Create a Debian LXC (enable nesting and keyctl under Options → Features so Docker works in an unprivileged container) or a small Debian VM, then install Docker. Our self-hosting with Docker guide covers the basics.
The official compose files live in the repository's docker/compose/ folder (SQLite or Postgres, with or without Tika). Here's a stack adapted from the Postgres + Tika variant:
# /opt/paperless/docker-compose.yml
services:
  broker:
    image: docker.io/valkey/valkey:9-alpine
    restart: unless-stopped
    volumes:
      - redisdata:/data

  db:
    image: docker.io/library/postgres:18
    restart: unless-stopped
    volumes:
      - pgdata:/var/lib/postgresql
    environment:
      POSTGRES_DB: paperless
      POSTGRES_USER: paperless
      POSTGRES_PASSWORD: paperless

  webserver:
    image: ghcr.io/paperless-ngx/paperless-ngx:latest
    restart: unless-stopped
    depends_on:
      - db
      - broker
      - gotenberg
      - tika
    ports:
      - "8000:8000"
    volumes:
      - data:/usr/src/paperless/data
      - media:/usr/src/paperless/media
      - ./export:/usr/src/paperless/export
      - ./consume:/usr/src/paperless/consume
    env_file: docker-compose.env
    environment:
      PAPERLESS_REDIS: redis://broker:6379
      PAPERLESS_DBHOST: db
      PAPERLESS_TIKA_ENABLED: 1
      PAPERLESS_TIKA_GOTENBERG_ENDPOINT: http://gotenberg:3000
      PAPERLESS_TIKA_ENDPOINT: http://tika:9998

  gotenberg:
    image: docker.io/gotenberg/gotenberg:8
    restart: unless-stopped
    command:
      - "gotenberg"
      - "--chromium-disable-javascript=true"
      - "--chromium-allow-list=file:///tmp/.*"

  tika:
    image: docker.io/apache/tika:latest
    restart: unless-stopped

volumes:
  data:
  media:
  pgdata:
  redisdata:
Don't need Office files or full email import? Delete the gotenberg and tika services and the three TIKA lines. To change the database password, set the same value in POSTGRES_PASSWORD and PAPERLESS_DBPASS.
Next, the settings file:
# /opt/paperless/docker-compose.env
USERMAP_UID=1000
USERMAP_GID=1000

# The URL you'll use to reach Paperless (needed behind a reverse proxy)
PAPERLESS_URL=https://paperless.example.com

# Generate with: openssl rand -hex 32
PAPERLESS_SECRET_KEY=replace-with-a-long-random-string

PAPERLESS_TIME_ZONE=Asia/Kathmandu
PAPERLESS_OCR_LANGUAGE=eng
Start it and create your admin user:
cd /opt/paperless
docker compose up -d
docker compose run --rm webserver createsuperuser
Open http://SERVER-IP:8000 and log in. For a production setup, replace :latest with a specific version tag so upgrades only happen when you choose.
The Consume Folder and Scanner Workflow
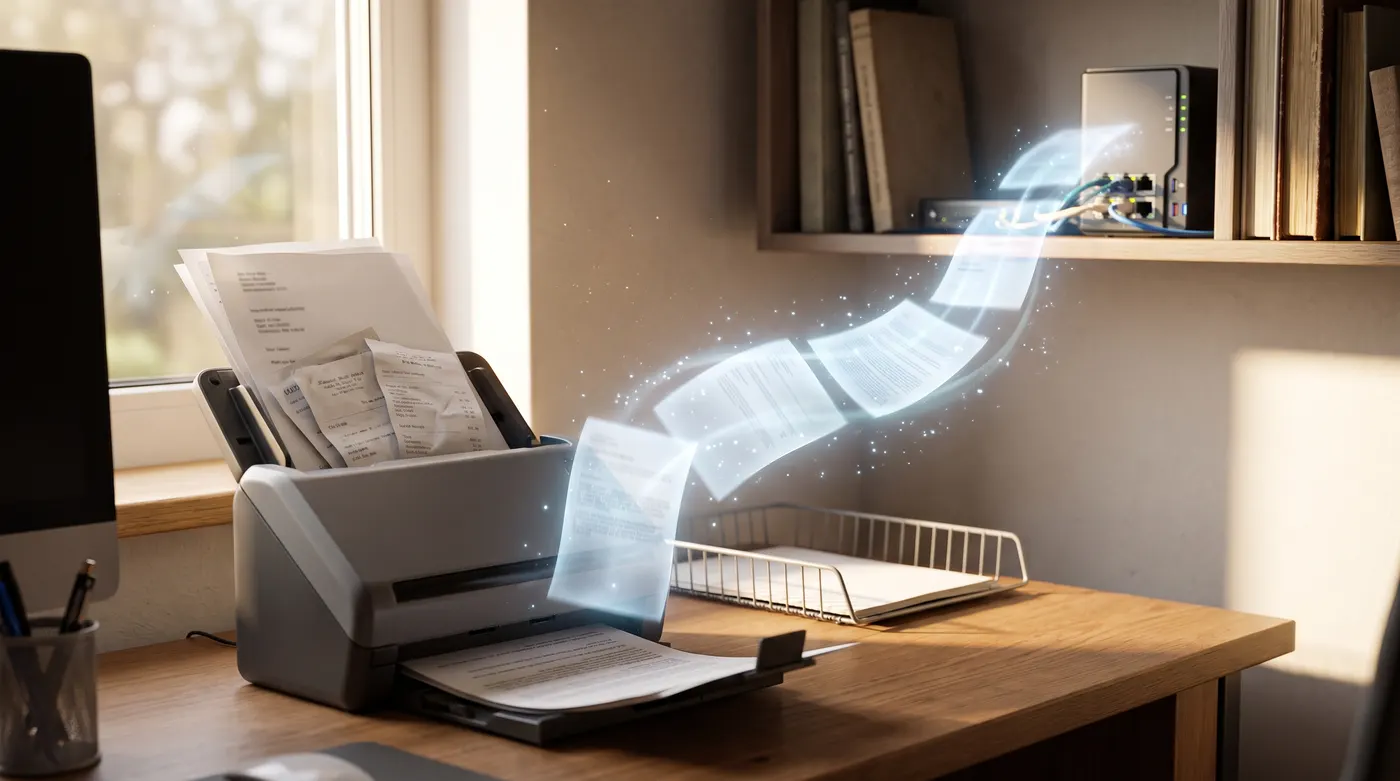
The consume folder is the heart of a paperless workflow: anything dropped into it gets imported, then removed from the folder. The trick is getting your scanner to drop files there automatically.
Scan to SMB (network folder)
Most ADF document scanners and office multifunction printers can scan to a network folder. Share the consume folder over SMB:
- Docker setup: share
/opt/paperless/consumewith Samba on the same LXC/VM, or point the bind mount at a folder on your NAS. - NAS route: create a
scansshare on TrueNAS or your NAS, mount it on the Paperless host, and use it as the consume folder. Our TrueNAS SCALE guide covers creating SMB shares.
Then configure your scanner's scan to folder profile with the share path and a dedicated user. Scan duplex, at 300 DPI, to PDF.
When the consume folder is on a network share, filesystem change notifications often don't work. Tell Paperless to poll instead:
PAPERLESS_CONSUMER_POLLING_INTERVAL=30
Scan to FTP or email
Some scanners only support FTP or email. Run a small FTP server container that writes into the consume folder, or have the scanner email an inbox that Paperless watches (see below).
Phone as a scanner
On iPhone, the Files app can connect to your SMB share and has a built-in Scan Documents option: scan a receipt and save it straight into the consume folder. On any phone, the Paperless-ngx web UI and community apps can upload directly.
Smart consume-folder tricks
# Subfolders become tags: consume/tax/receipts/scan.pdf gets "tax" and "receipts"
PAPERLESS_CONSUMER_RECURSIVE=true
PAPERLESS_CONSUMER_SUBDIRS_AS_TAGS=true

# Use barcode separator sheets to split one big batch scan into documents
PAPERLESS_CONSUMER_ENABLE_BARCODES=true
OCR Languages
By default Paperless OCRs in English. Tesseract uses three-letter language codes, and you can combine several with +:
# Languages to use for OCR
PAPERLESS_OCR_LANGUAGE=eng+nep

# Docker only: extra language packs to install at container start
PAPERLESS_OCR_LANGUAGES=nep hin
The first variable tells Paperless which languages to use; the second installs the packs. Only add languages you actually receive mail in, since each one slows OCR down. Native installs, including the helper-script LXC, need the matching tesseract-ocr-* packages installed with apt.
Organise: Tags, Correspondents, Document Types
Paperless gives you a few building blocks. Getting them right early saves a lot of re-sorting later.
| Building block | What it means | Examples |
|---|---|---|
| Correspondent | Who sent it (or who you sent it to) | Your bank, the electricity company, your employer |
| Document type | What kind of document it is | Invoice, Receipt, Payslip, Contract, Warranty |
| Tags | Anything else; a document can have many | tax-2026, car, house, important |
| Storage path | Where the file sits on disk | Per correspondent and year |
| Custom fields | Extra structured data | Amount, due date, policy number |
Two tips that make Paperless click:
- Create an "Inbox" tag and mark it as an inbox tag in its settings. Every new document gets it automatically. Review, correct and remove the tag, and your inbox becomes a to-do list.
- Keep types and tags few and broad. "Invoice" plus a correspondent beats a tag for every company.
Storage paths use templates. For example, this files documents as Correspondent/Year/Title.pdf:
{{ correspondent }}/{{ created_year }}/{{ title }}
Matching Rules and Workflows
Automatic matching
Every correspondent, document type, tag and storage path has a matching algorithm:
| Algorithm | How it works | Use it for |
|---|---|---|
| Auto | Learns from documents you've already classified | Most things, once you have some examples |
| Any / All | Matches if any (or all) of the words appear | Simple keyword rules |
| Exact | Matches an exact phrase | Account or customer numbers |
| Regular expression | Matches a regex | Invoice number formats |
| Fuzzy | Tolerates OCR typos | Messy scans |
| None | Never auto-assigned | Manual-only tags |
Start with Auto everywhere. After you've correctly classified a few documents per category, Paperless gets surprisingly good. Use Exact for anything with a unique account or customer number; it's the most reliable rule there is.
Workflows
Workflows (under Settings or the sidebar, depending on version) are if-this-then-that rules. A workflow has triggers (consumption started, document added, document updated, or on a schedule) and actions (assign or remove tags, correspondents, owners, permissions and custom fields, send an email or call a webhook).
Some useful examples:
- Everything from the
scans/taxshare gets thetax-2026tag and is shared with your partner's account. - Documents of type Invoice trigger a webhook to Home Assistant or an email reminder.
Fetch Documents from Email
Many bills only arrive as PDF attachments. Paperless can collect them automatically:
- Go to Mail (Settings → Mail on some versions) and add a mail account with your IMAP server. For Gmail or Outlook, use an app password or the built-in OAuth option.
- Add a mail rule: which folder to watch, filters (sender, subject, body), whether to import attachments only or the whole email as PDF, and what to do afterwards (mark as read, move, flag or delete).
- Have the rule assign a correspondent, tags or document type directly, or leave it to matching.
Paperless checks mail every 10 minutes by default. Importing the full email as a PDF needs the Tika and Gotenberg containers from the compose file above. Tip: create a dedicated address and simply forward bills to it.
Optional: AI Tagging with a Local Ollama
Built-in AI in Paperless-ngx 3.x
Since version 3.0, Paperless-ngx has native AI features, disabled by default: suggestions for title, tags, correspondent and document type, chat with your documents, and a vector index for finding similar documents. It works with Ollama or any OpenAI-compatible API, so you can keep everything on your own hardware:
PAPERLESS_AI_ENABLED=true
PAPERLESS_AI_LLM_BACKEND=ollama
PAPERLESS_AI_LLM_ENDPOINT=http://192.168.1.60:11434
PAPERLESS_AI_LLM_MODEL=llama3.1

# Embeddings for document chat and similar-document search
PAPERLESS_AI_LLM_EMBEDDING_BACKEND=ollama
PAPERLESS_AI_LLM_EMBEDDING_MODEL=embeddinggemma
Pull the models on your Ollama machine first (ollama pull llama3.1 and ollama pull embeddinggemma). Newer 3.x releases can also apply AI suggestions automatically from a workflow action.
Hardware reality check: an 8B model on an N100's CPU works, but each document can take a long time. Our Ollama on N100 benchmarks show what to expect. Running Ollama on a PC with a GPU and pointing Paperless at it over the network is a much better experience. New to Ollama? Start with our local AI with Ollama and Open WebUI guide.
Third-party add-ons: paperless-gpt and paperless-ai
Before native AI existed, two community projects filled the gap:
- paperless-gpt uses LLMs for titles, tags and correspondents, and can also use vision models for OCR, which helps with handwriting and poor scans.
- paperless-ai offered automatic tagging and a RAG chat. It's reportedly no longer maintained, so prefer the native features for new installs.
Both connect through the Paperless API with a token and support Ollama.
Backups: document_exporter and 3-2-1
The document exporter
The document exporter writes every document, along with a manifest of all metadata (tags, correspondents, notes, users and settings), to plain files. It's the safest, version-independent way to back up:
cd /opt/paperless
docker compose exec -T webserver document_exporter ../export
That lands in the ./export bind mount. Add --zip for a single archive file. Schedule it nightly with cron:
# crontab -e
0 2 * * * cd /opt/paperless && docker compose exec -T webserver document_exporter ../export
On native installs, such as the helper-script LXC, run the same document_exporter command through Paperless's manage.py. To restore, run document_importer against the export on a fresh, empty instance.
A 3-2-1 plan
- Copy 1: the live Paperless instance.
- Copy 2: nightly Proxmox backups of the LXC/VM (ideally to Proxmox Backup Server) plus the exporter output copied to a NAS.
- Copy 3: the exporter folder pushed off-site with an encrypted tool like restic or Borg (Backblaze B2, a friend's server).
We use the same approach for photos in our Immich backup guide.
Mobile Apps and Remote Access
The Paperless-ngx web UI is responsive and works well on a phone browser. Community apps add camera scanning and quick uploads:
- iOS: Swift Paperless is a popular, actively developed native client.
- Android: community clients have changed hands over the years, so check the Play Store or F-Droid for a recently updated Paperless-ngx app.
Paperless-ngx doesn't encrypt documents at rest, so don't expose it directly to the internet. Use a VPN like Tailscale (see Tailscale vs WireGuard), or a reverse proxy with HTTPS and two-factor authentication turned on in your Paperless profile. Our Traefik reverse proxy guide covers the proxy side; remember to set PAPERLESS_URL to your public address.
FAQ
Is Paperless-ngx free?
Yes. Paperless-ngx is open-source (GPL-3.0) with no paid tiers. Your only costs are the hardware, the electricity and, optionally, a document scanner.
What's the difference between Paperless, Paperless-ng and Paperless-ngx?
Paperless was the original, Paperless-ng a rewrite of it, and Paperless-ngx the community continuation, which is the only actively developed version. Ignore guides for the older two.
Should I run Paperless-ngx in an LXC or a VM on Proxmox?
An LXC uses less RAM and is perfect for Paperless, either via the helper script or Docker inside the LXC. Choose a VM if you want full isolation from the host or prefer to avoid Docker-in-LXC quirks.
Can Paperless-ngx run on a Raspberry Pi?
Yes. The Docker images support arm64, so a Raspberry Pi 4 or 5 with 4 GB of RAM or more works. OCR on large batches is slower than on an N100, but fine for a household's mail.
How do I update Paperless-ngx?
With Docker, run docker compose pull && docker compose up -d (after updating your pinned version tag). With the helper-script LXC, run update in the container console. Before major upgrades, such as 2.x to 3.x, read the release notes, take a Proxmox snapshot and run the exporter.
Conclusion
Once the scanner, consume folder and email rules are set up, Paperless-ngx files your paperwork for you. On Proxmox, start with the helper-script LXC for speed or Docker Compose for the official, well-documented path, add your OCR languages, lean on Auto matching and workflows, and run the document exporter nightly as part of a 3-2-1 backup. Add local AI with Ollama later, once the basics are solid.
Running out of things to self-host? Set up Immich for your photos next, or give your media server a makeover with the best Jellyfin plugins and themes.